The case of the Amiga RGB cable
In a previous post on this blog, I mentioned in passing that even though it looked like I was using an A520 RF Modulator on my Amiga 500, I was just using the case, as the cable inside it was a custom RGB-SCART cable which had been (sloppily, if I'm honest) soldered onto a liberated DB23 D-Sub connector from a broken A520 (the same one providing the case!).
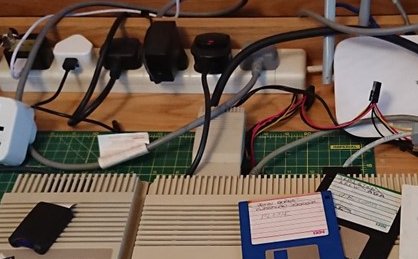
(Here's a zoom-in of the picture in question, showing the A520 case)
Now that the ZuluSCSI is working properly, I've decided to move this Amiga 500 to another desk in my 'lab', to free up my workbench for the next project. However, the destination desk isn't as deep, so this means the A520 case must go.
I have a 3D printer (doesn't every hacker have one by now?), so the obvious route is to design something suitable to replace the current enclosure and print it out. Being in a rush, and to be honest, not that invested in a functional box design, I literally threw together the most basic case I could design in my CAD program:
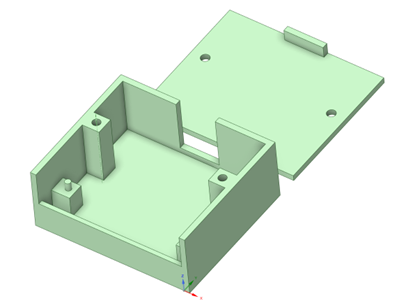
My workflow is to design things in DesignSpark Mechanical, save out as an .STL file, and import that file into Ultimaker Cura and then slice the object, which creates a .GCODE file for the Ender 3 to print via OctoPrint.
So… 3 hours later, one printed box.
However, those little stubby nubs were not strong enough to hold the DB23 connector in place during the force of pushing it into the Amiga's display socket, causing the connector to slide inside the box.
Now, I'm quite frugal with my time and resources, so there was no way I was going to reprint the whole thing just because of a small design error. I decided to fix the problem by quickly knocking up some 'stopper blocks' that could sit behind the front connector support struts and the rear screw-hole struts. These blocks would prevent the connector from sliding backwards:
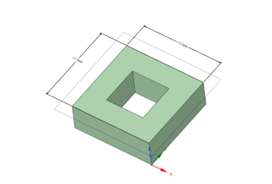
Via Cura, I told the printer to print two of these. Total print time 11 minutes! That's a far cry from the 3 hours of print time for the original box and way less filament. No one is going to see these little stopper blocks, so it's a win-win. Sometimes, reprinting a one-off project due to a small design problem is not the right thing to do.
I shoved the blocks into place inside the box, where they wedged in quite nicely, and tested the result. Success! No more movement of the connector.
Obviously, if this was a repeat run, or if I were to make these boxes for other people, I would spend way more time on the design and iteration of them, so they would be nice to look at and sturdy enough to take repeated abuse. However, when it's just a functional 'one-off' for my own use, I will always do the bare minimum.
Anyway, here's a picture of the actual box:
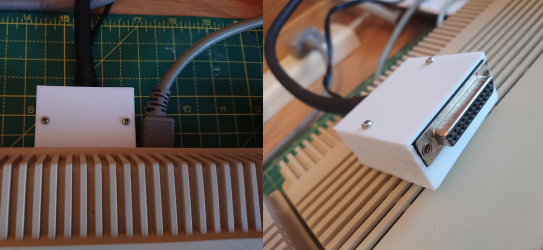
It does the job. And that's what counts.